
Another update from the basement fermentation lab…
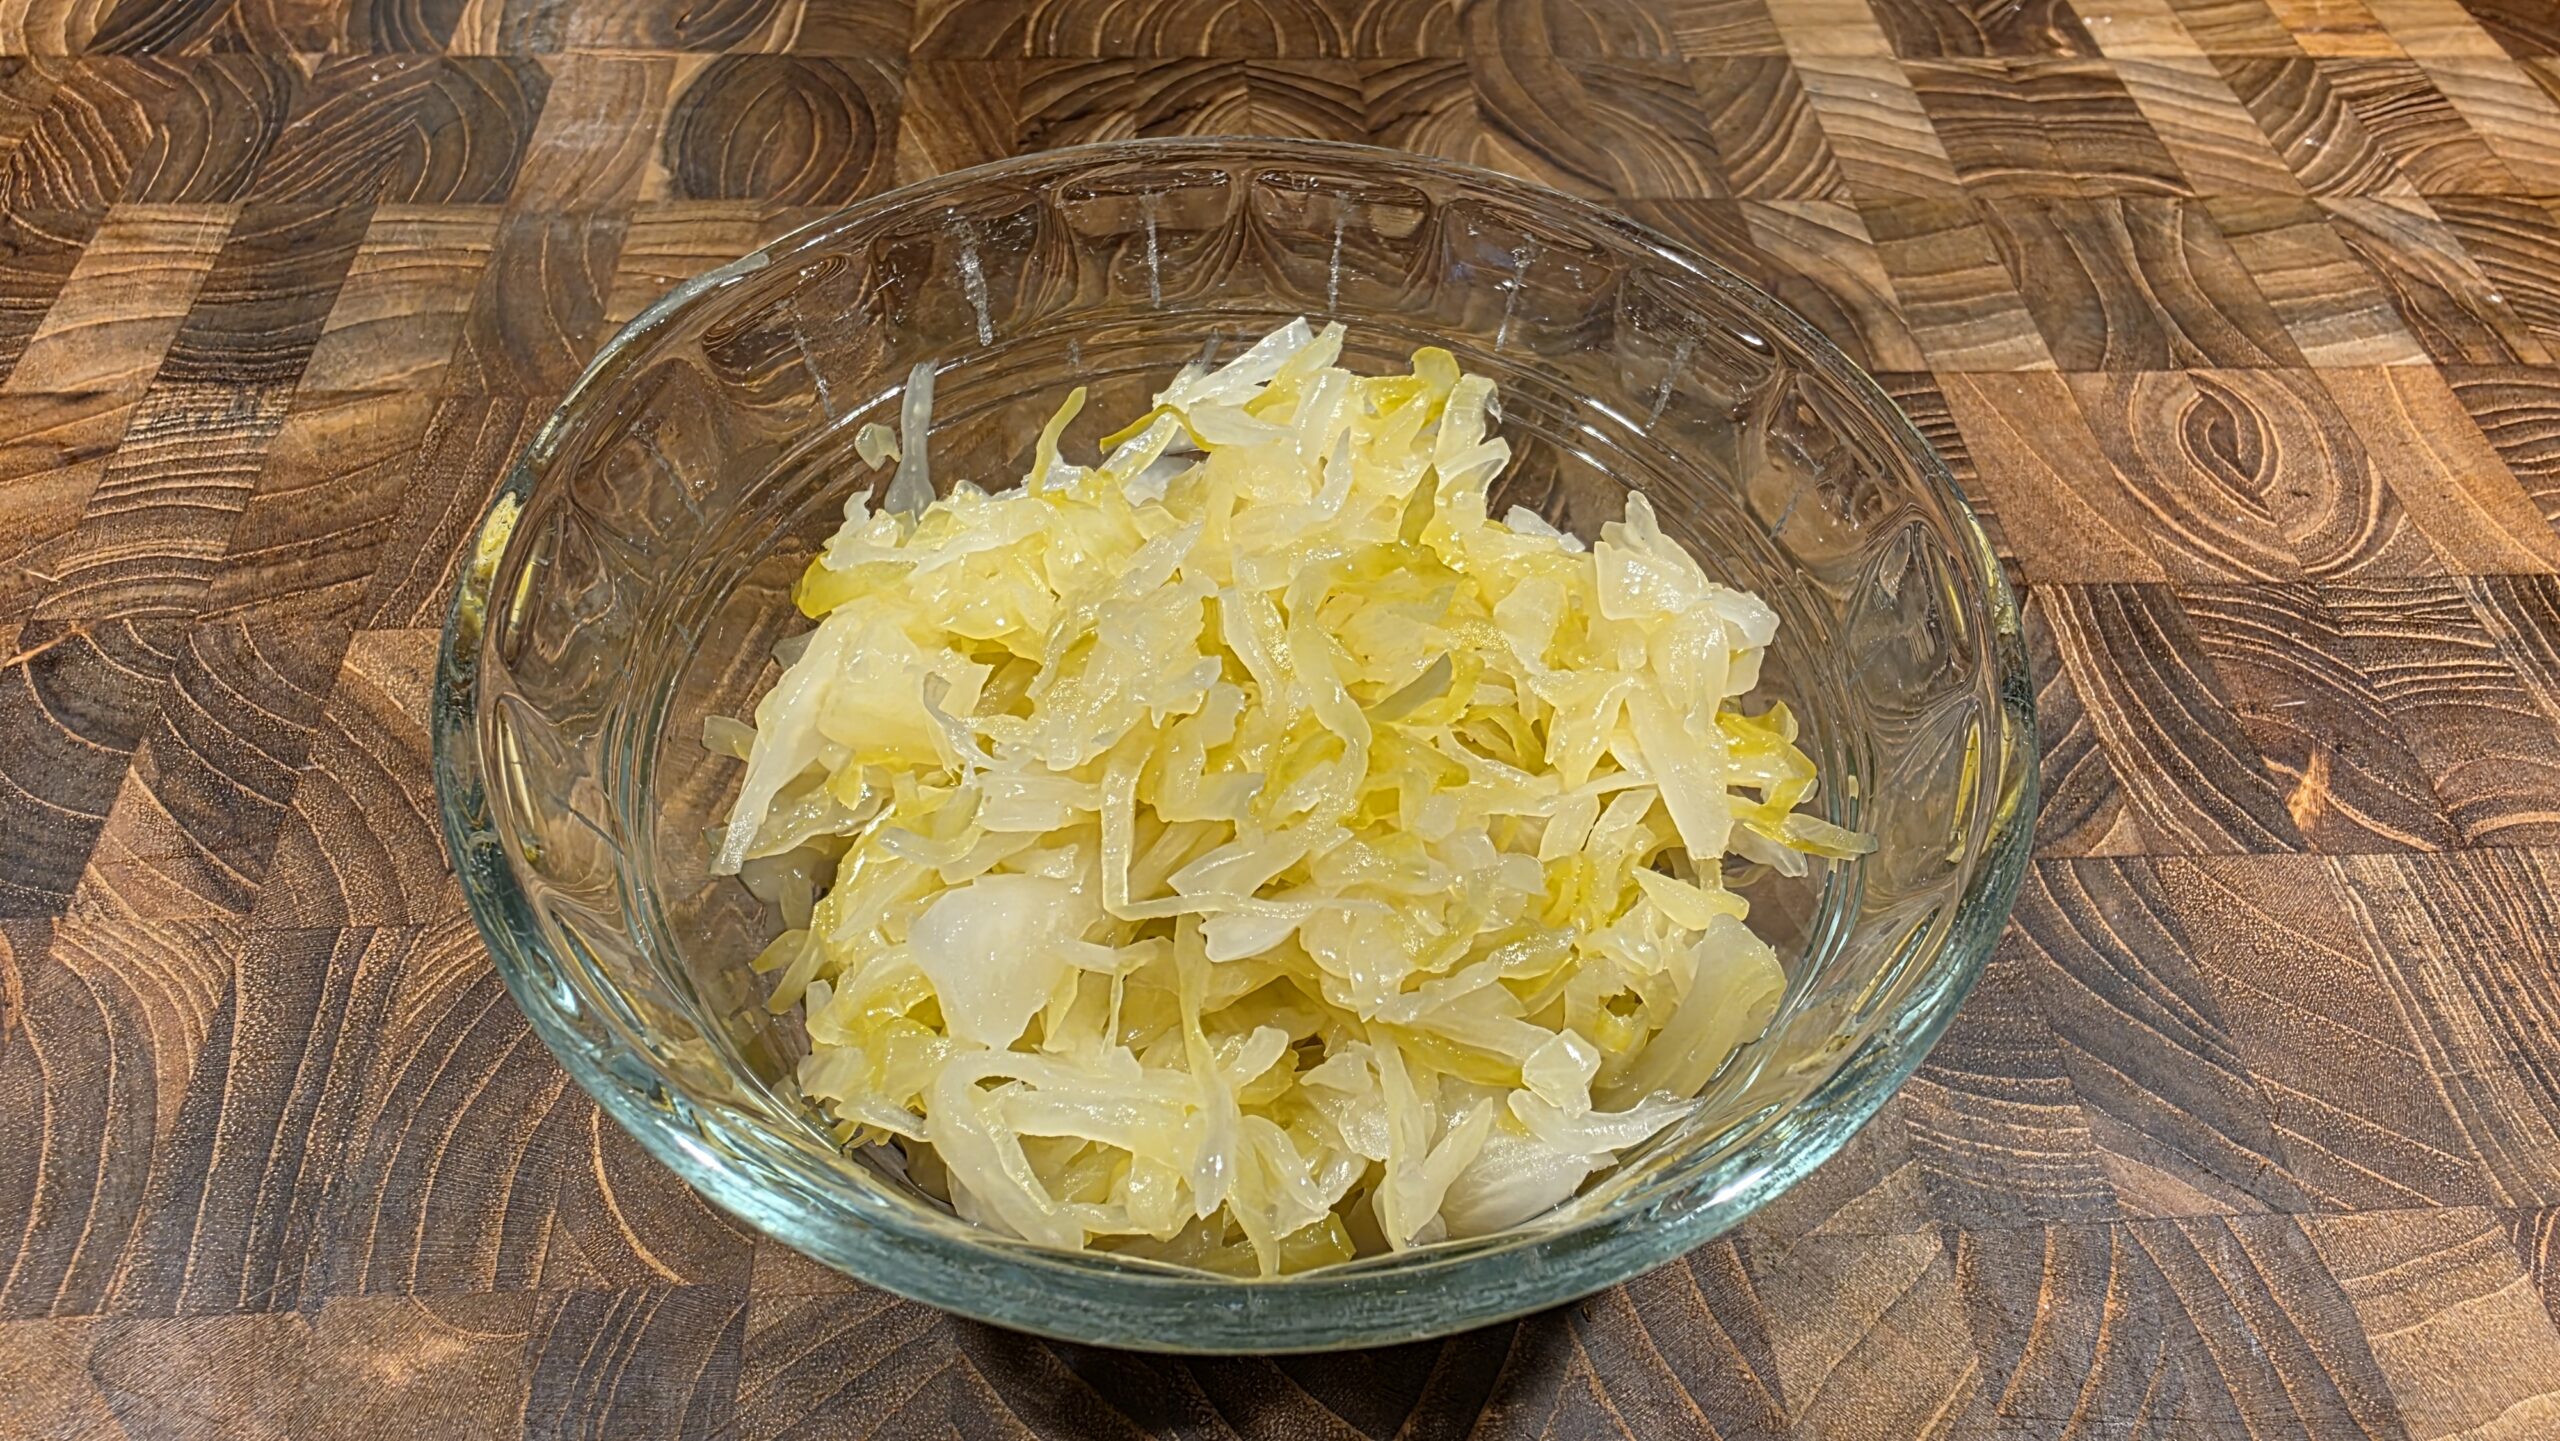
This was my first full batch of homemade sauerkraut, and honestly it turned out exactly how I was hoping — clean, mild, and packed with that classic tangy flavor.
This is one of those old-school processes that looks simple on paper, but once you do it, you realize there’s a little bit of technique involved. Nothing complicated — just cabbage, salt, and time.
Let it sit, let it do its thing, and you end up with something way better than store-bought.
Overview
Traditional lacto-fermented cabbage that develops flavor over about 2 weeks. Simple, reliable, and one of the easiest ways to get into fermentation.
Ingredients
- 1 large head green cabbage (~2–2.5 lbs)
- 2–2.5 tsp kosher salt (or ~2% by weight)
Optional:
- 1–2 tsp caraway seeds
Equipment
- Large mixing bowl
- Mason jar or fermentation vessel
- Fermentation weights – Keeps your vegetables fully submerged under the brine, which is key for safe, successful fermentation without mold. Buy on Amazon
- Tray (for overflow)
- Sauerkraut pounder – A must-have for fermenting. Helps break down cabbage and pack it tightly into jars to release juices and kickstart fermentation. Buy on Amazon
Instructions
1) Prep the Cabbage
Remove the outer leaves and set one aside for later. Slice the cabbage thin.
2) Salt & Massage
Add salt to the cabbage and massage it for about 5–10 minutes until it softens and releases liquid.
This is where things start to come together — the salt pulls moisture out and creates your natural brine.
3) Pack the Jar
Pack the cabbage tightly into your jar, pressing down firmly as you go. The goal is to release as much liquid as possible and eliminate air pockets.
4) Submerge
Place the reserved cabbage leaf on top and use a weight to keep everything submerged under the brine.
5) Ferment
Leave the jar at room temperature, ideally around 68–72°F.
Set it on a tray — overflow can happen during active fermentation.
Fermentation Timeline
- Day 1–3: Active bubbling begins
- Day 4–7: Strong fermentation
- Day 8–14: Flavor develops and mellows
- Day 14+: Ready to refrigerate
How to Know It’s Working
- Cloudy brine (normal)
- Small bubbles
- Tangy, clean smell
If it smells fresh and sour — you’re on the right track.
Storage
Once it reaches your preferred flavor, move it to the refrigerator.
It will keep for several months and continue to develop slowly.
Serving Ideas
- With sausage or kielbasa
- On sandwiches
- As a side dish
- With eggs or potatoes
Notes
- Always keep cabbage fully submerged in brine
- Fermentation activity will vary slightly based on temperature
- Simple ingredients + time = best results
Final Thoughts
This first batch came out exactly how it should — clean, mild, and flavorful at about the 2-week mark.
Fermentation looks complicated at first, but once you do it, it’s really just about consistency and letting time do the work.
Definitely something I’ll keep going in rotation.