
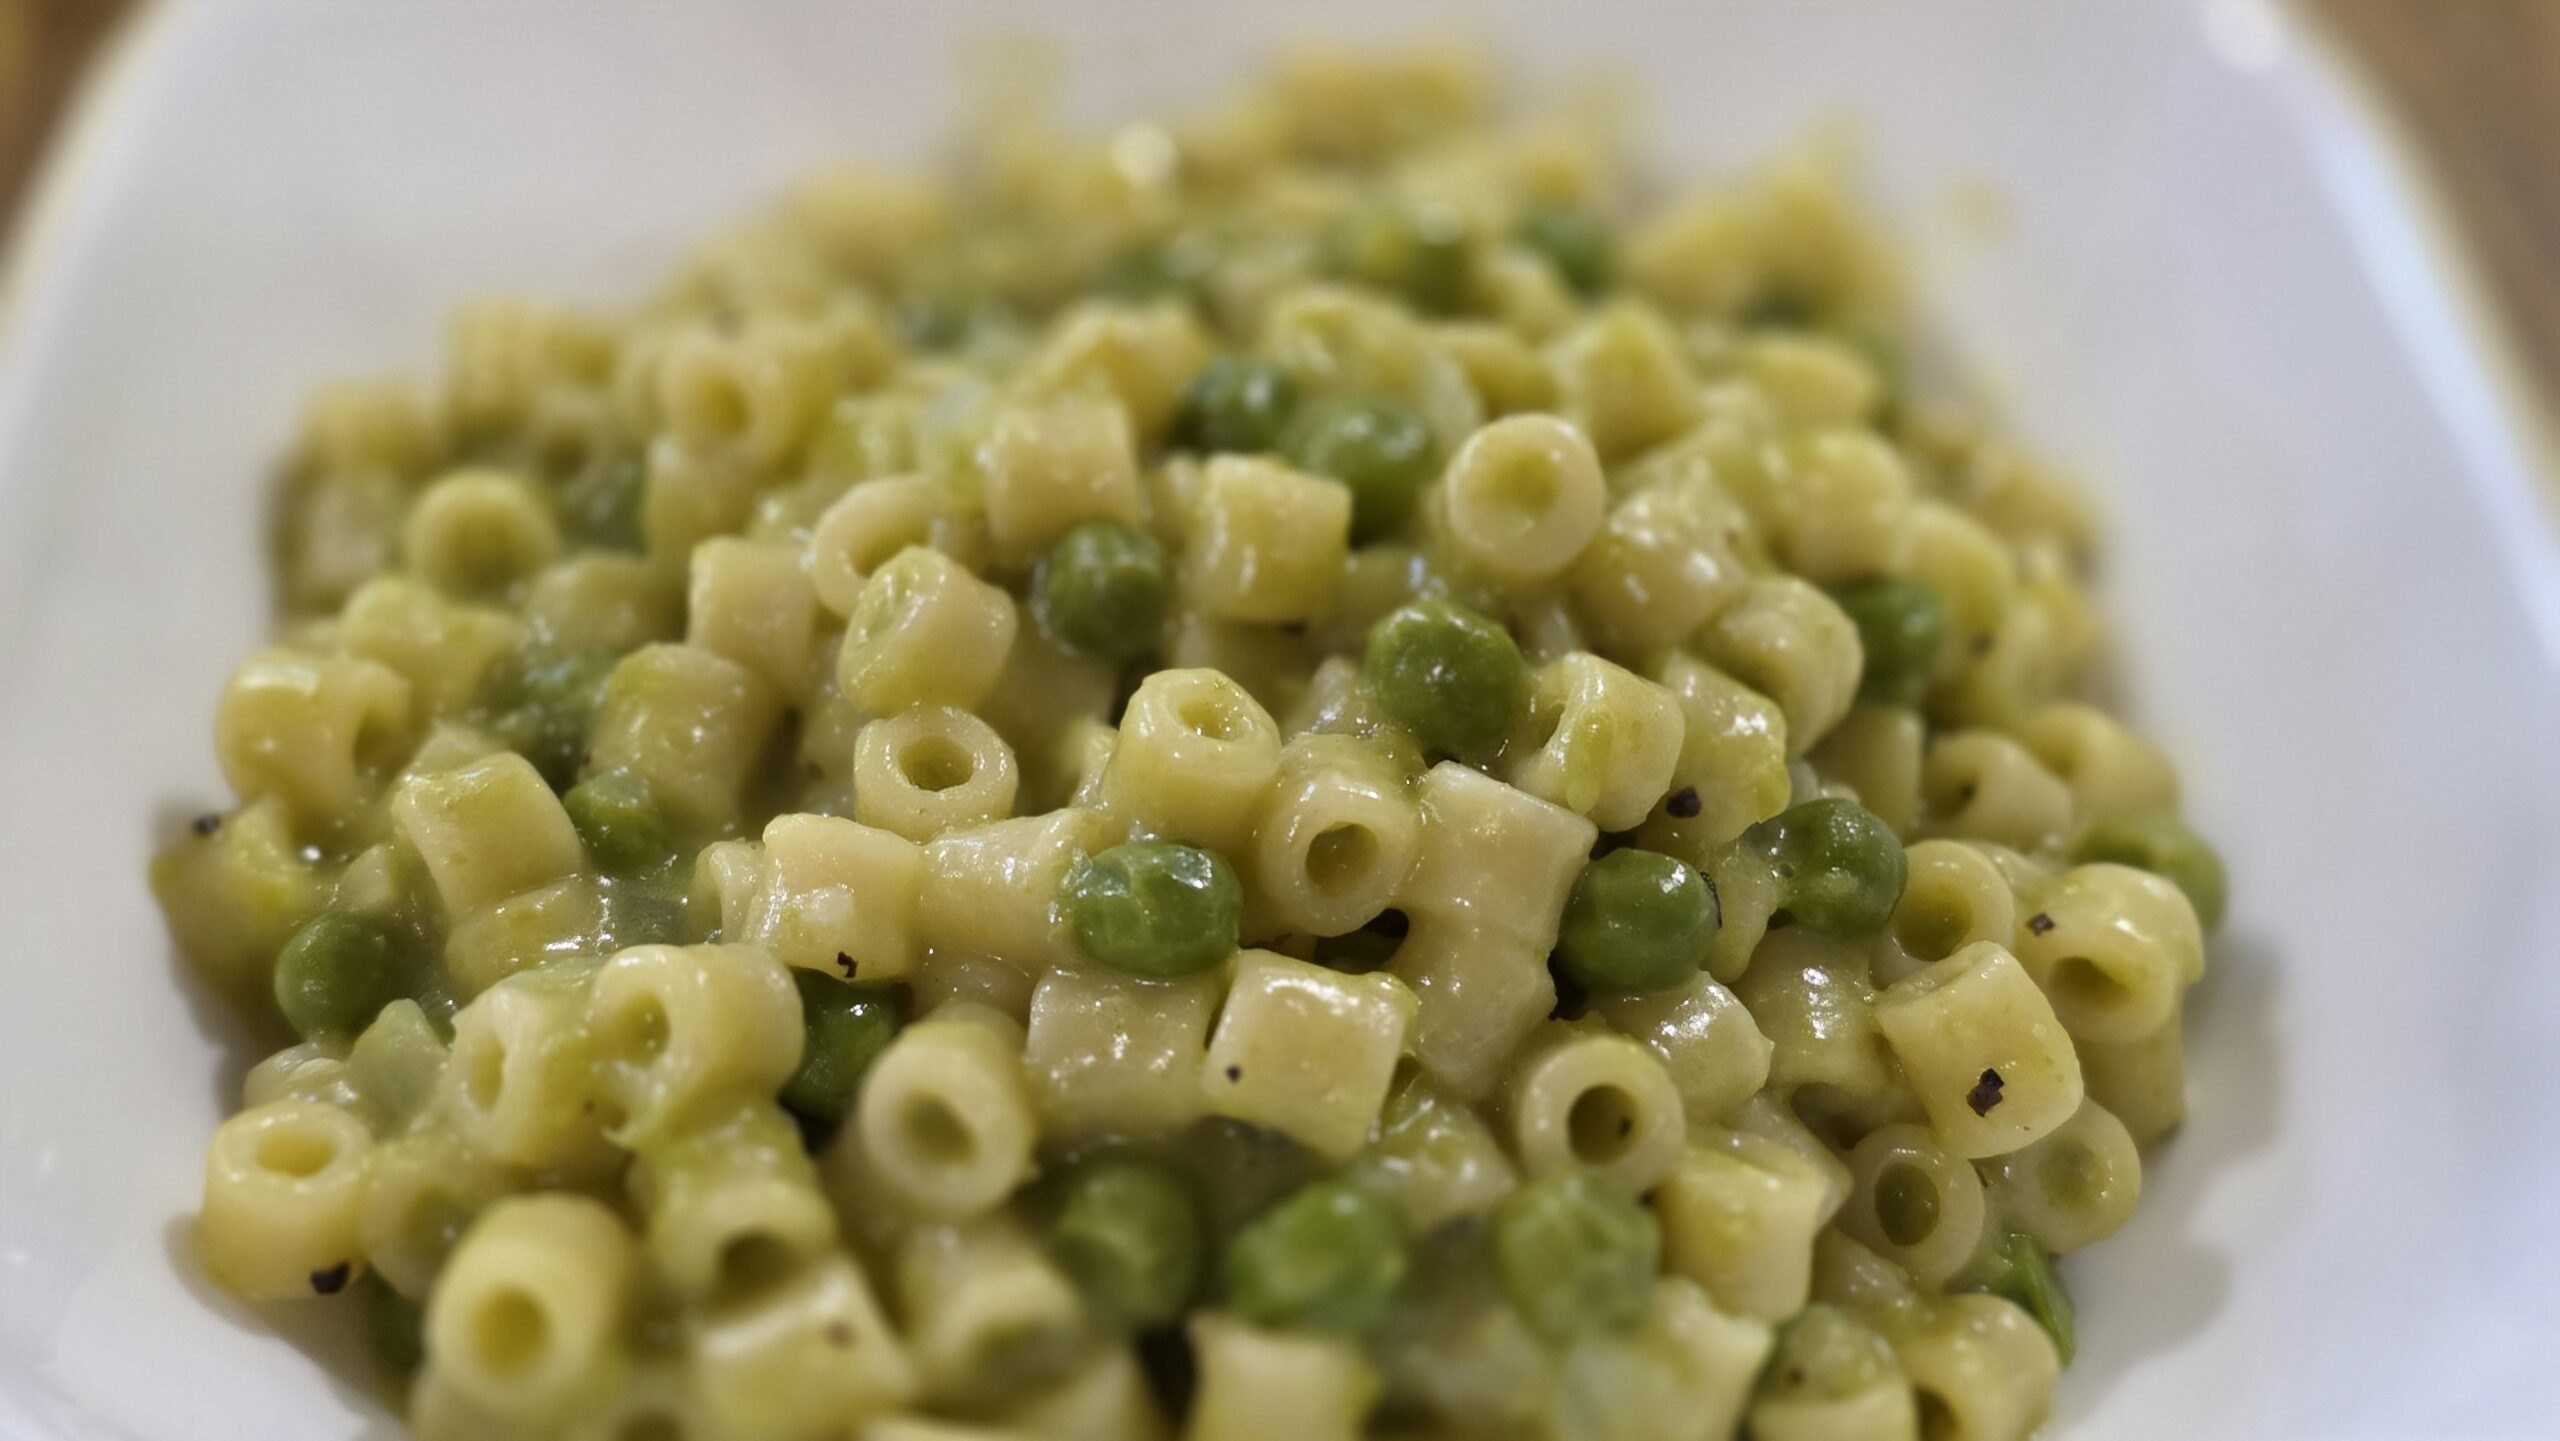
Ditalini with Sweet Peas, Pecorino Romano & Butter
Simple ingredients. One pot. No cream.
This creamy pasta and peas is one of those old-school meals that proves dinner does not need a mile-long ingredient list to be good. Ditalini cooks right in the pea broth, releasing its starch along the way and turning everything creamy and glossy.
Some of the peas get blended into the cooking liquid while the rest stay whole. As a result, you get plenty of sweet peas in every bite along with a rich pea sauce that clings to the pasta. Freshly grated Pecorino Romano, butter, garlic and onion bring everything together.
The trick is treating the pasta almost like risotto. Instead of dumping in all the water and walking away, reserve some of the cooking liquid and add it little by little as the pasta absorbs what’s already in the pot. Stir, add a splash, let it absorb and repeat until the pasta is tender and the sauce is creamy.
Best of all, there is no heavy cream and no jarred sauce. Just pasta, peas, cheese, butter and a little patience.
Serves: About 6
Prep Time: 10 minutes
Cook Time: About 25 minutes
Total Time: About 35 minutes
Ingredients
- 1 lb ditalini pasta
- 2 (10 oz) bags frozen sweet peas
- 1 medium sweet onion, finely diced
- 4 cloves garlic, minced
- 2 cups freshly grated Pecorino Romano, divided
- 2 quarts water, divided
- 6 tablespoons unsalted butter, cut into small cubes
- Extra-virgin olive oil, for sautéing
- Kosher salt, to taste
- Freshly cracked black pepper, to taste
Directions
1. Cook the Onion and Garlic
Start by adding a generous drizzle of olive oil to a large, heavy-bottomed pot over medium heat. Once the oil is warm, stir in the diced sweet onion and cook until softened and translucent.
Next, stir in the minced garlic and cook for another 30 to 60 seconds, just until fragrant.
2. Add the Peas
Pour both bags of frozen peas into the pot, then season with kosher salt and plenty of freshly cracked black pepper.
Next, pour in about 1 1/2 quarts of the water, reserving the remaining 1/2 quart for later. Bring everything to a gentle simmer and cook for about 5 minutes.
3. Blend Some of the Peas
After the peas have simmered, remove roughly half along with enough cooking liquid to blend them easily. Blend until smooth, then pour the mixture back into the pot and stir well.
4. Cook the Ditalini in the Pea Broth
Stir the dry ditalini directly into the pea mixture and bring everything back to a steady simmer.
While the pasta cooks, stir frequently to keep it from sticking to the bottom. As the pasta absorbs the liquid and begins to tighten up, pour in a small splash of the reserved water and mix well.
Continue cooking and adding small amounts of reserved water whenever needed. Eventually, the ditalini will become al dente while the surrounding liquid turns thick and creamy.
Think of this part almost like making risotto. Because the pasta cooks directly in the pea broth, frequent stirring releases starch into the liquid. As a result, you get a naturally creamy sauce without adding any heavy cream.
5. Add the First Half of the Pecorino
Once the pasta is al dente, stir in 1 cup of the freshly grated Pecorino Romano. Mix well until the cheese melts into the creamy pea sauce.
6. Finish with Butter and Pecorino
Turn off the heat, then scatter the cubed butter and remaining 1 cup of Pecorino Romano over the pasta.
Cover the pot with a lid and let everything rest for 5 minutes. After resting, remove the lid and stir vigorously until the butter and cheese melt into the starchy pea broth, creating a thick and creamy sauce.
Finally, taste and adjust with additional kosher salt and freshly cracked black pepper if needed. Serve immediately with another sprinkle of freshly grated Pecorino Romano, if desired.
Tips for the Best Creamy Pasta and Peas
Keep it a little loose. The pasta will continue absorbing liquid as it sits. In addition, the Pecorino will thicken the sauce even more. Therefore, the pasta should still be slightly looser than you ultimately want when you turn off the heat.
Stir often. Since the pasta cooks directly in the pea broth, it can settle and stick to the bottom of the pot. Frequent stirring also releases more starch, which helps create that creamy sauce.
Do not add all the water at once. Reserving some of the water gives you control over the final consistency. Whenever the pasta begins getting too thick or starts sticking, add another small splash and stir well.
Freshly grate the Pecorino. Freshly grated Pecorino Romano melts much more smoothly than pre-shredded cheese. More importantly, it incorporates into the starchy cooking liquid to create a much better sauce.
Give it the five-minute rest. Once the butter and remaining Pecorino go into the pot, cover it and leave it alone. During those few minutes, the residual heat begins melting everything together. A good stir afterward brings the sauce together and gives it that creamy finish.
What to Serve with Pasta and Peas
This creamy pasta and peas can absolutely stand on its own as dinner. Between the pasta, peas and Pecorino Romano, it is simple but still plenty satisfying.
However, if you want to round out the meal, serve it with crusty Italian bread, a simple green salad or some roasted vegetables. A little extra Pecorino and freshly cracked black pepper on top never hurts either.
How to Store Leftovers
Store leftover pasta and peas in an airtight container in the refrigerator. Because the ditalini continues absorbing the sauce as it sits, the leftovers will be considerably thicker the next day.
When reheating, add a small splash of water to loosen everything up. Then warm it gently, stirring occasionally, until the sauce becomes creamy again.
Estimated Nutrition
Based on approximately 6 servings.
- Calories: About 610
- Protein: About 24g
- Carbohydrates: About 75g
- Fat: About 25g
- Fiber: About 10g
Nutrition information is an estimate and will vary depending on the exact brands, amount of olive oil used and serving size.
Leave a Reply